Board-and-Batten DIY
Home decor trends are always shifting. If you follow any home-design focused content creators, you’ll notice they are constantly making changes and tweaks to their rooms. But one trend that seems to be around for the long haul is board-and-batten. Adding this or other similar wood paneling treatments to your walls can greatly transform a space. And board-and-batten walls are the holy grail of transformations because they’re 1) inexpensive and 2) not very time consuming.
What is board-and-batten?
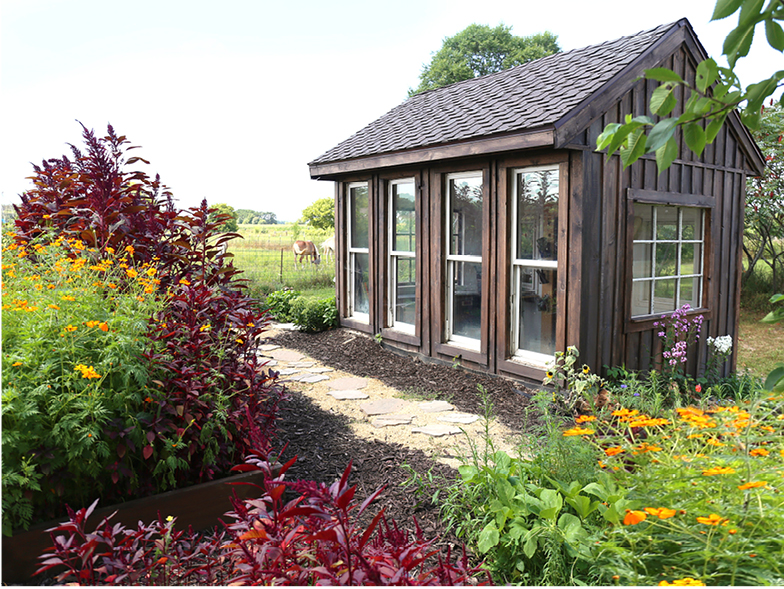
Board-and-batten started as an architectural design found on the exterior of homes. It was originally a siding consisting of narrow wooden strips (the battens) that were layered over the seams between larger, wider boards. The battens could be applied horizontally or vertically over the boards, creating any number of designs.
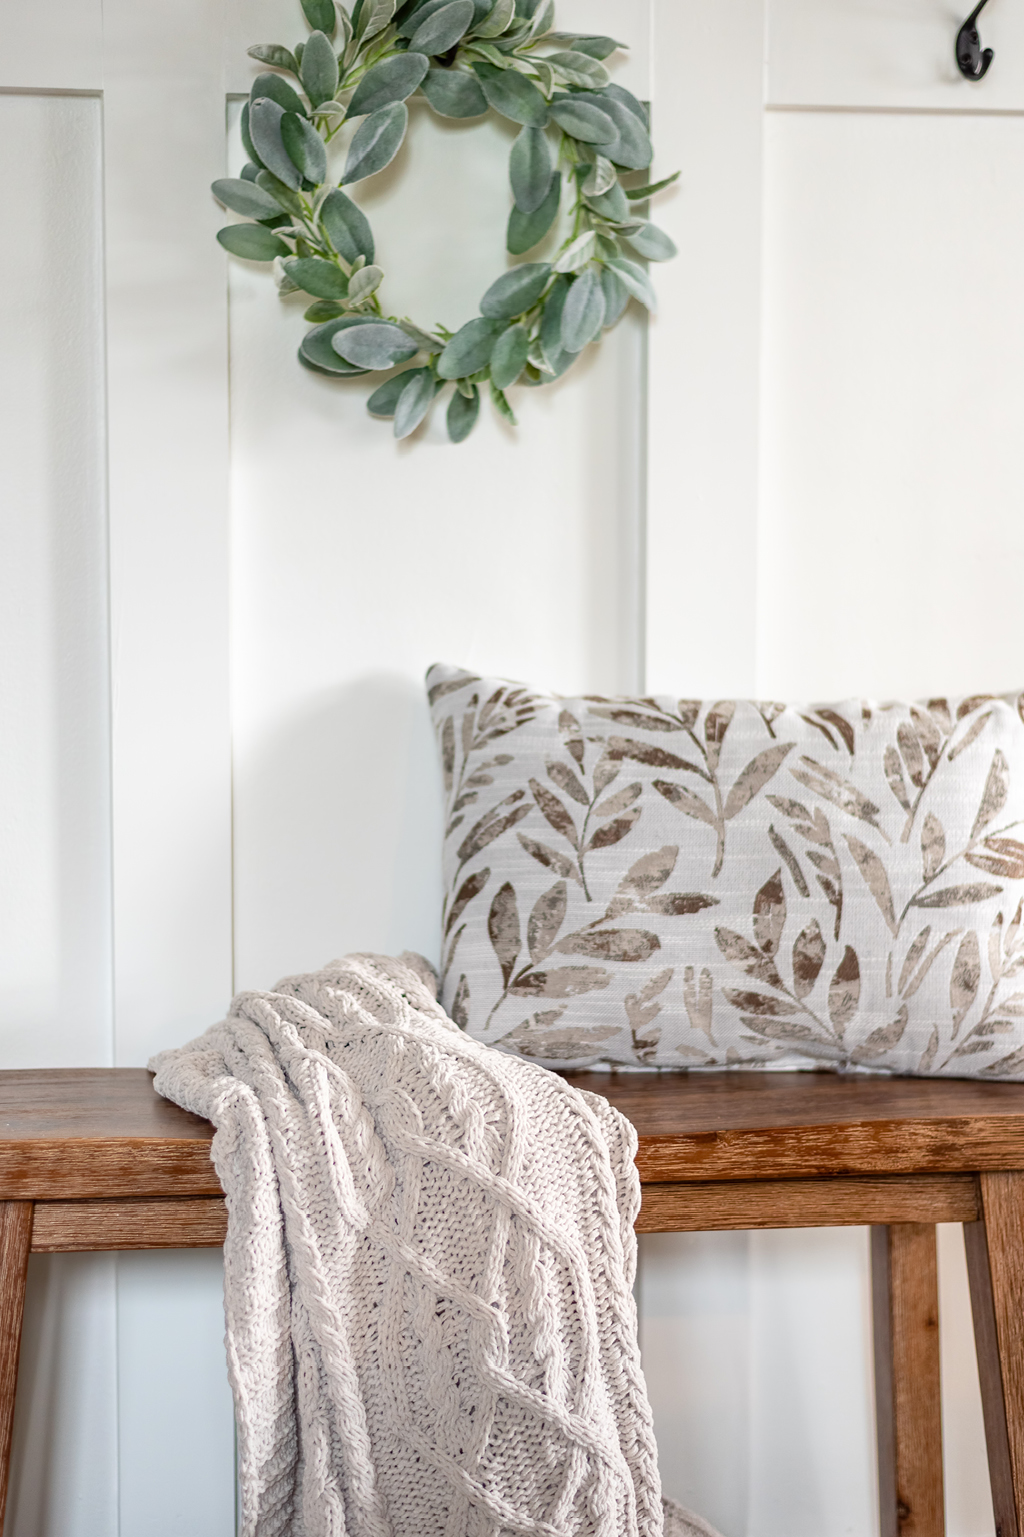
The siding has now found its way into homes across the nation, specifically by way of interior designers and DIYers. It’s become a popular wall treatment for entire rooms or just accent walls, bringing dimension and interest to living spaces. DIYers transform their rooms with this simple and cost-effective home improvement, ditching the boards in board-and-batten and attaching their battens directly to their walls. It’s a fun, simple upgrade that you too can make in your home!
How to
Supplies:
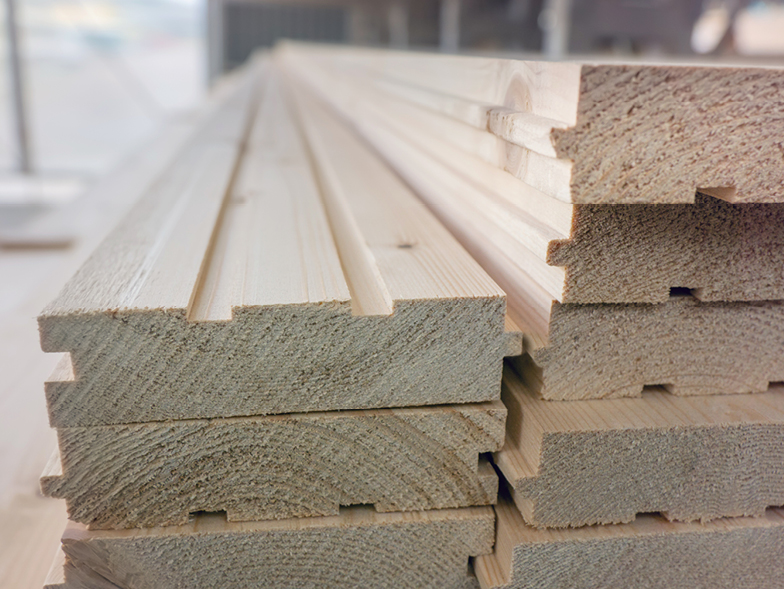
- Lumber (MDF board is recommended as it’s a cheaper option than wood)
- Saw
- Nails
- Liquid nail
- Nail gun or hammer
- Paintable caulk
- Wood filler
- Level
- Paint and painting supplies
Step 1: Pick a design.
Do you want to fill an entire wall? Or do you only want the board-and-batten to stop just above your bed frame? Consider if you want to only do vertical slats or a grid pattern. All of these factors will determine how much lumber you must purchase.
Step 2: Measure everything.
Before making any cuts, you’ll have to do a little math. Measure out the length and height of your design and determine how far apart you want your battens. They’ll need to be equal distance from each other, so try different whole numbers until you reach a specific number of vertical battens that works for your space. Remember that there are various lumber widths, so consider looking online or in stores for the types and sizes of lumber available at your local home improvement store.
Step 3: Cut the lumber.
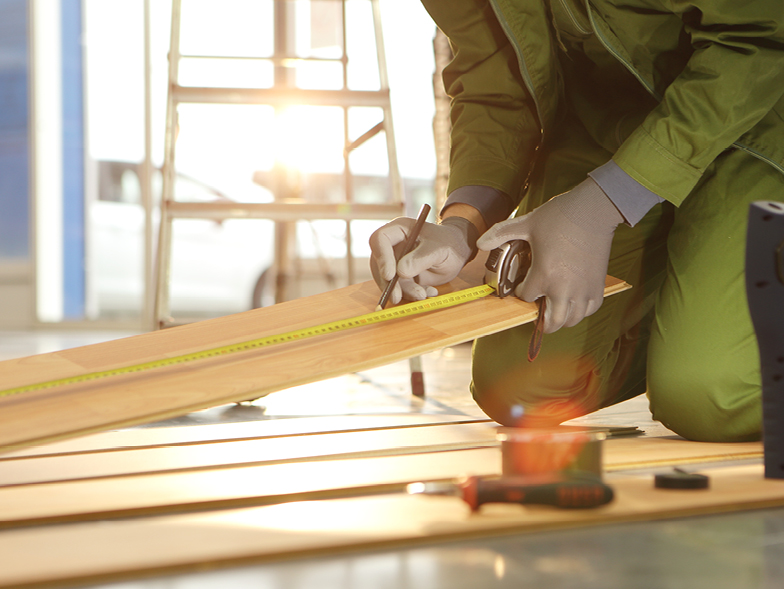
After doing the measuring and math, you’re now ready to get your supplies. You can have your lumber cut at a home improvement store, but it’s possible that your walls might not be entirely straight. It’s recommended that you cut the battens yourself with a saw if you’re comfortable doing so.
Step 4: Install the battens.
Start with the top-most piece as this will help all your other battens line up according to your design. To attach the lumber to the wall, layer some liquid nail across the back and stick it to the wall. Further secure the piece with a few nails. Next, install the vertical pieces. Attach the pieces to the wall one at a time, ensuring that everything is level as you go. Secure each one to the wall with the nails. If you’re doing a grid pattern, you can then attach your individual horizontal pieces.
Step 5: Caulk around the lumber and fill nail holes.
Once all your battens are secured to the walls, fill the gaps between the lumber and the wall with your paintable caulk. This will smooth out the transition from wall to wood, giving a seamless appearance on your board-and-batten design. Be sure to fill all nail holes with your wood filler to ensure a smooth surface for painting.
Step 6: Paint.
Here comes the fun part! Paint everything—the covered area of the wall and the lumber that you’ve just attached to it—the same color to creates a beautiful statement wall for your room.
And that’s it! This easy DIY is a great way to add a statement to any room in your house.


