Make Your Own Can Planters
Before you toss the empty food cans from dinner, consider this fun DIY planter project! Ordinary tin cans, like those used for soup, take decades to decompose naturally in a landfill. If it is aluminum, it can take even longer—more than 200 years to decompose!
Yes, you can recycle your cans (and that’s a great thing to do), but even that requires energy and emits some greenhouse gasses into the environment.
What’s an even greener solution than recycling? Upcycling! Instead of spending your hard-earned money at the home supply store on new planters for the plants in your home, turn your empty food cans into a unique planter you can be proud of.
Keep your cans.
Save empty food cans like coffee canisters and soup cans.
Gather your materials.
Take a look through your drawers, and you’ll find that you likely already have the materials you can use for this project on hand. Grab any paint, stencils, glitter, scrapbook paper, brushes, and papier-mache.
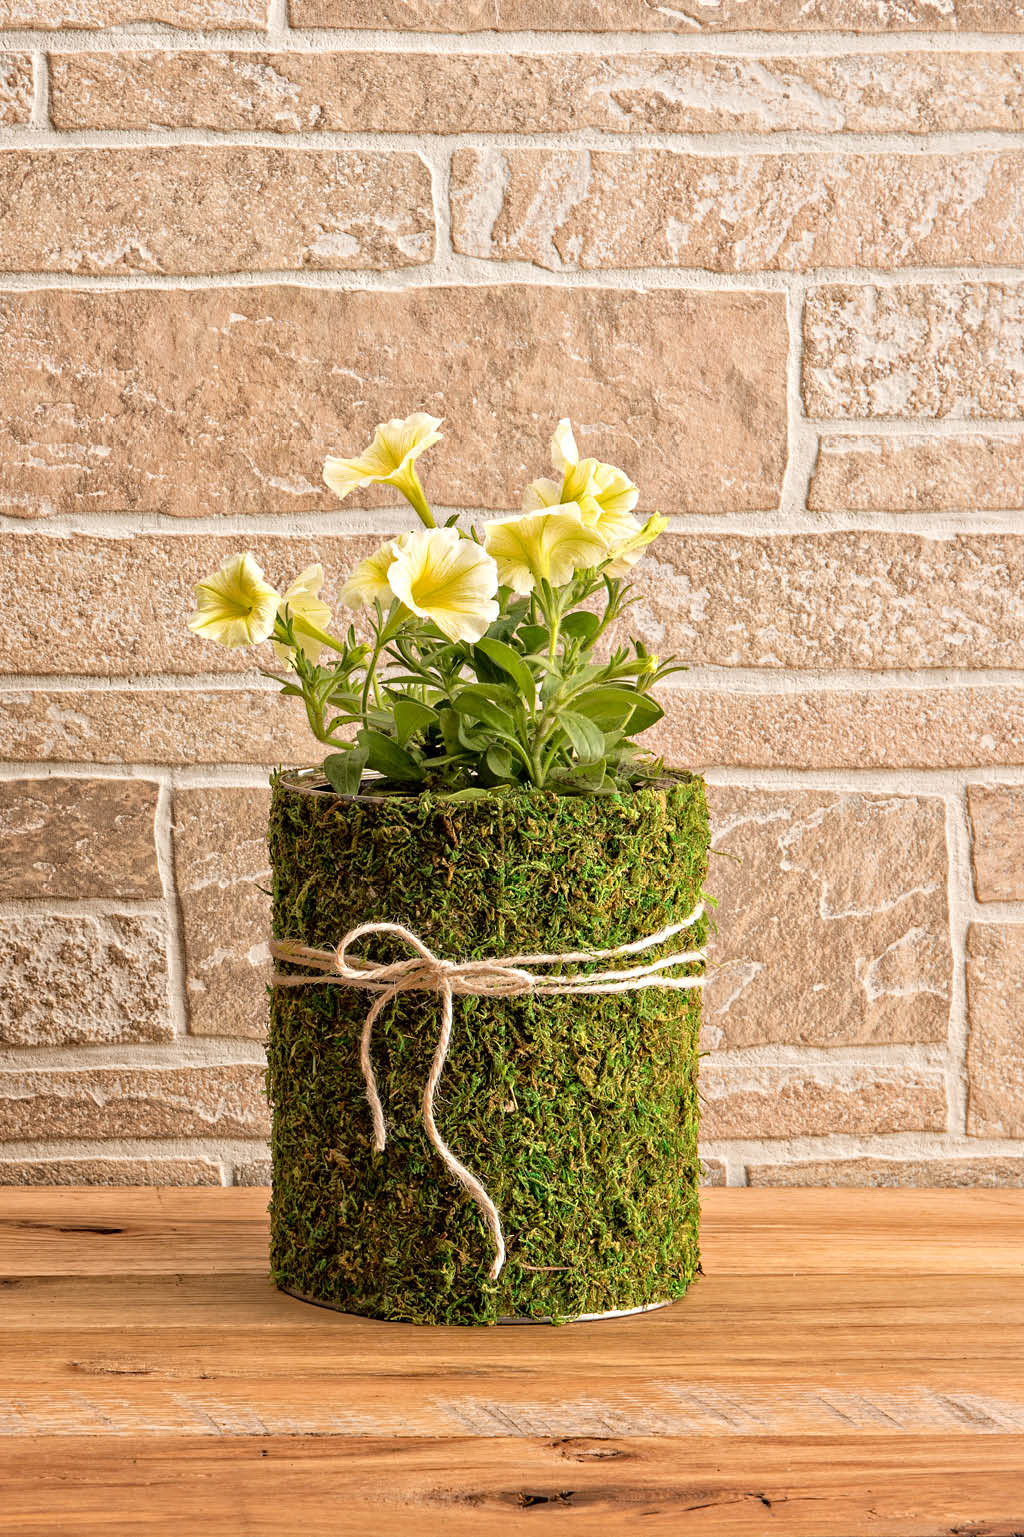
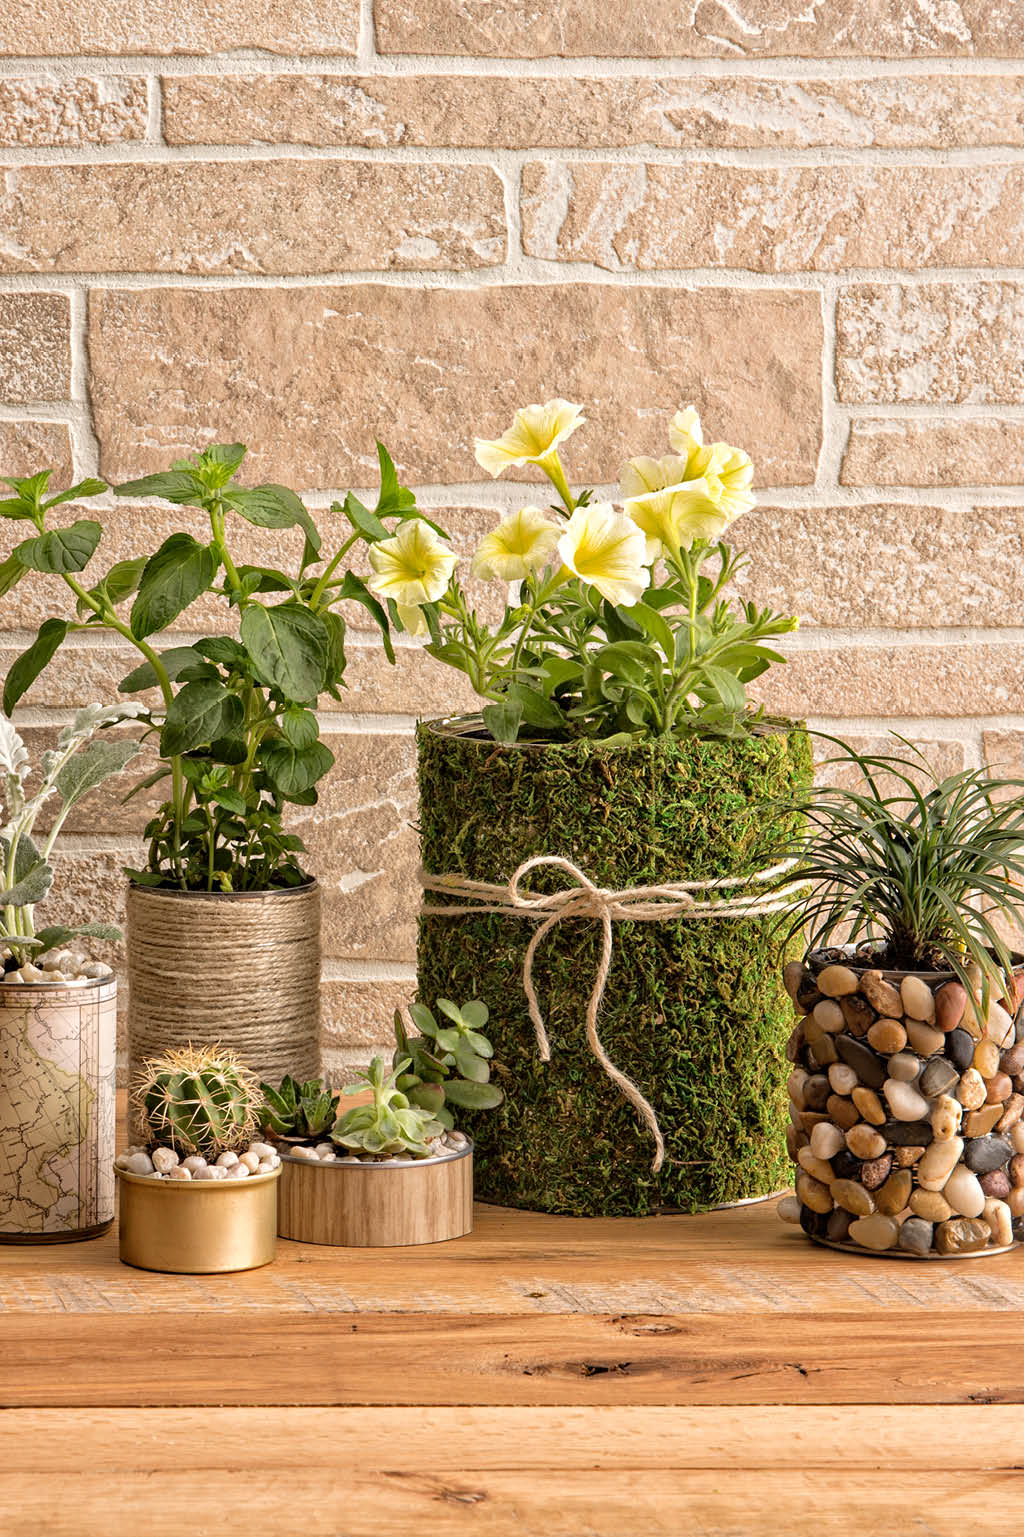
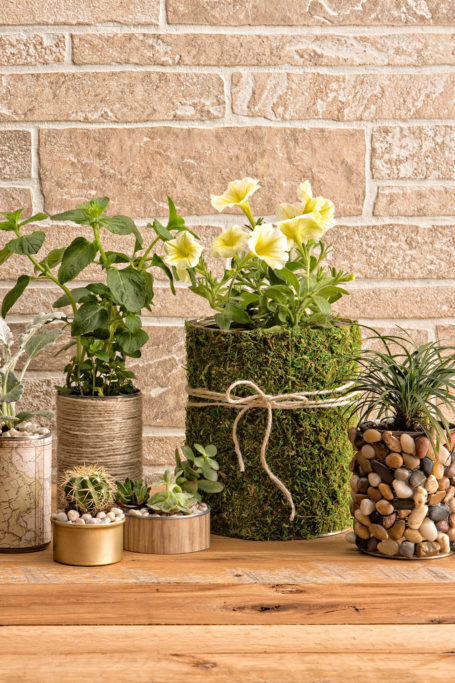
Moss: You can buy moss sheets at most craft stores to cover your planter. You can also glue on seashells or dried flowers.
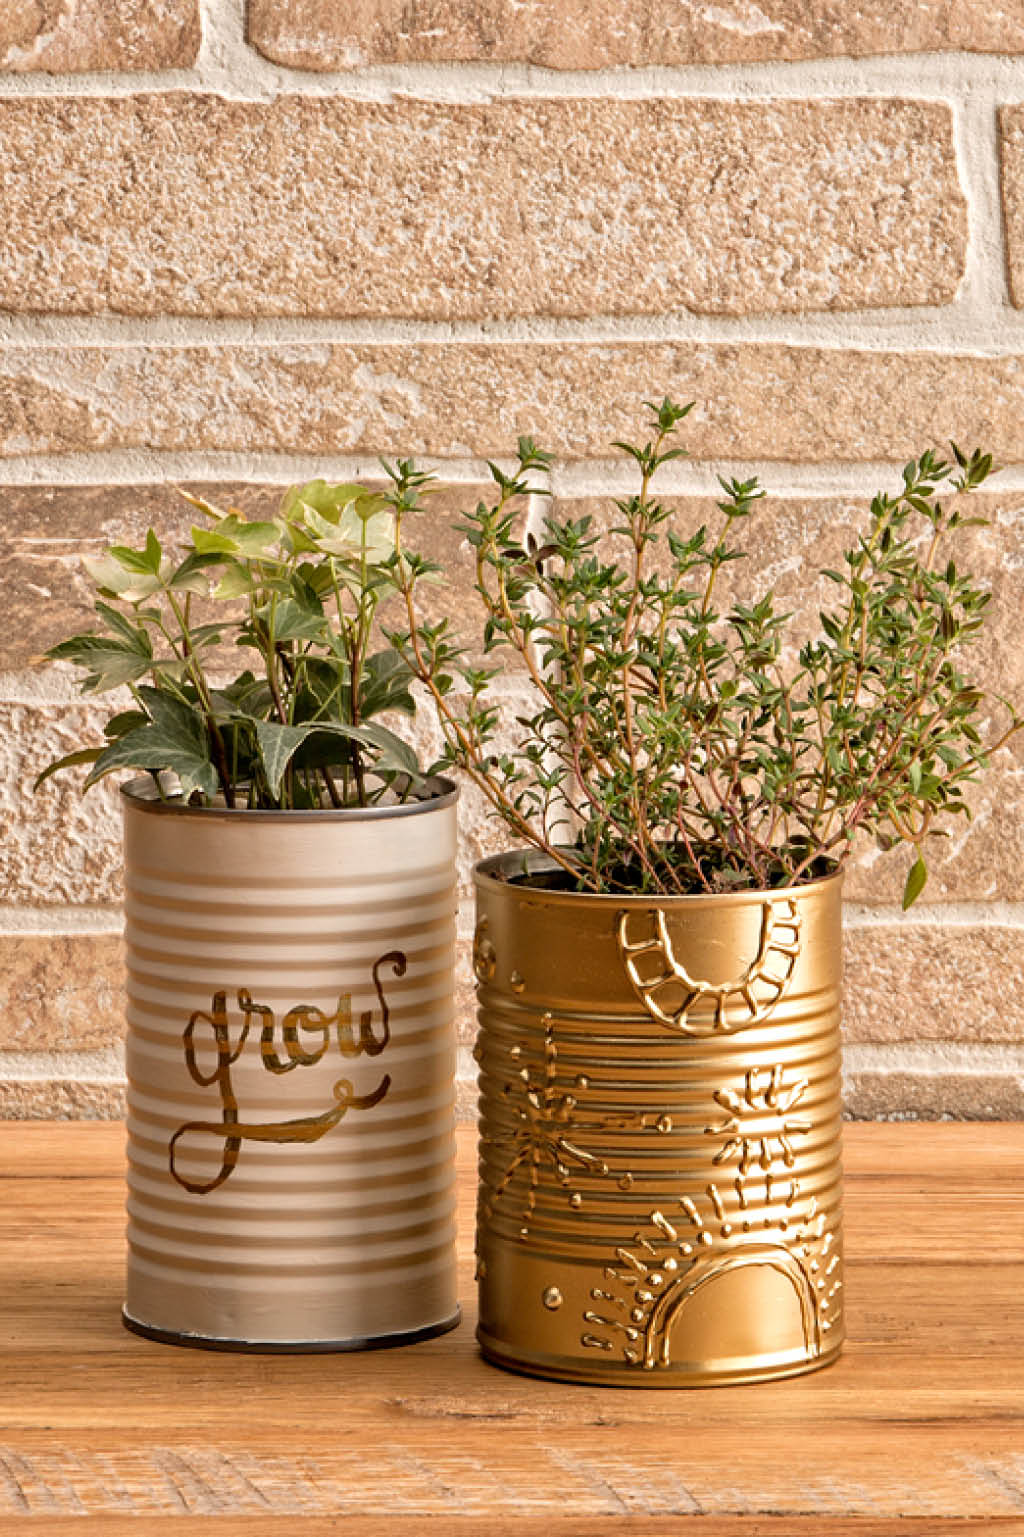
Painted: Paint will rejuvenate any can. Why not take it a step further and use glue to draw a design. Then paint over it, giving it texture.
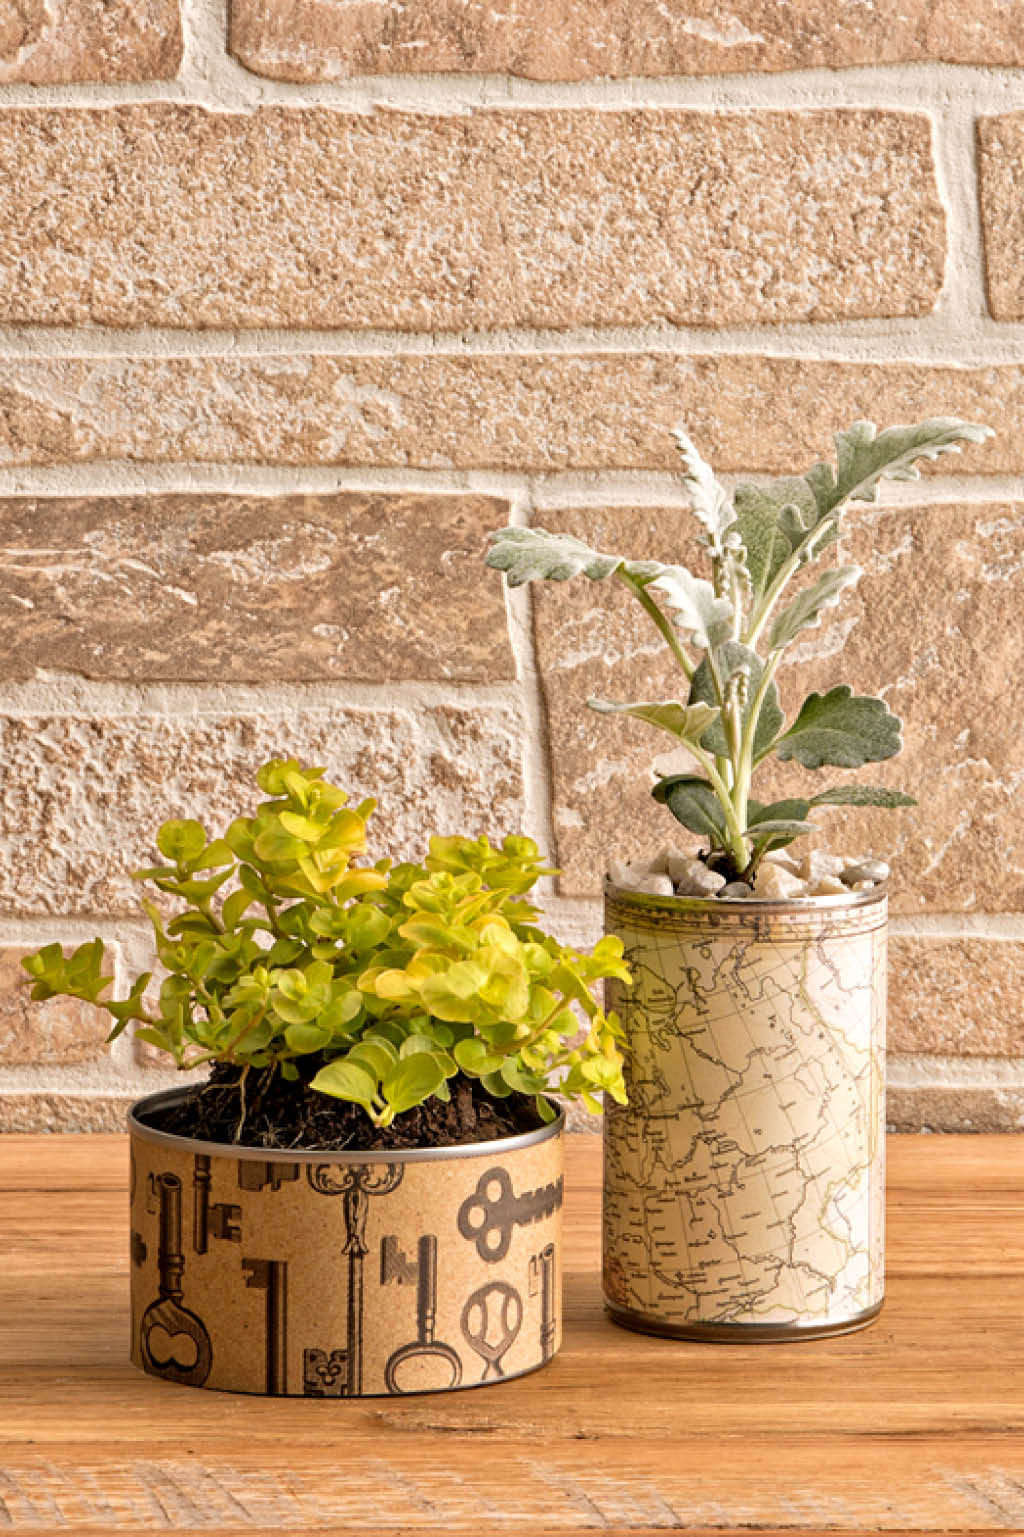
Paper: Take old scrap paper lying around the house or buy paper in fun patterns. Cut the paper and attach to the can with glue.
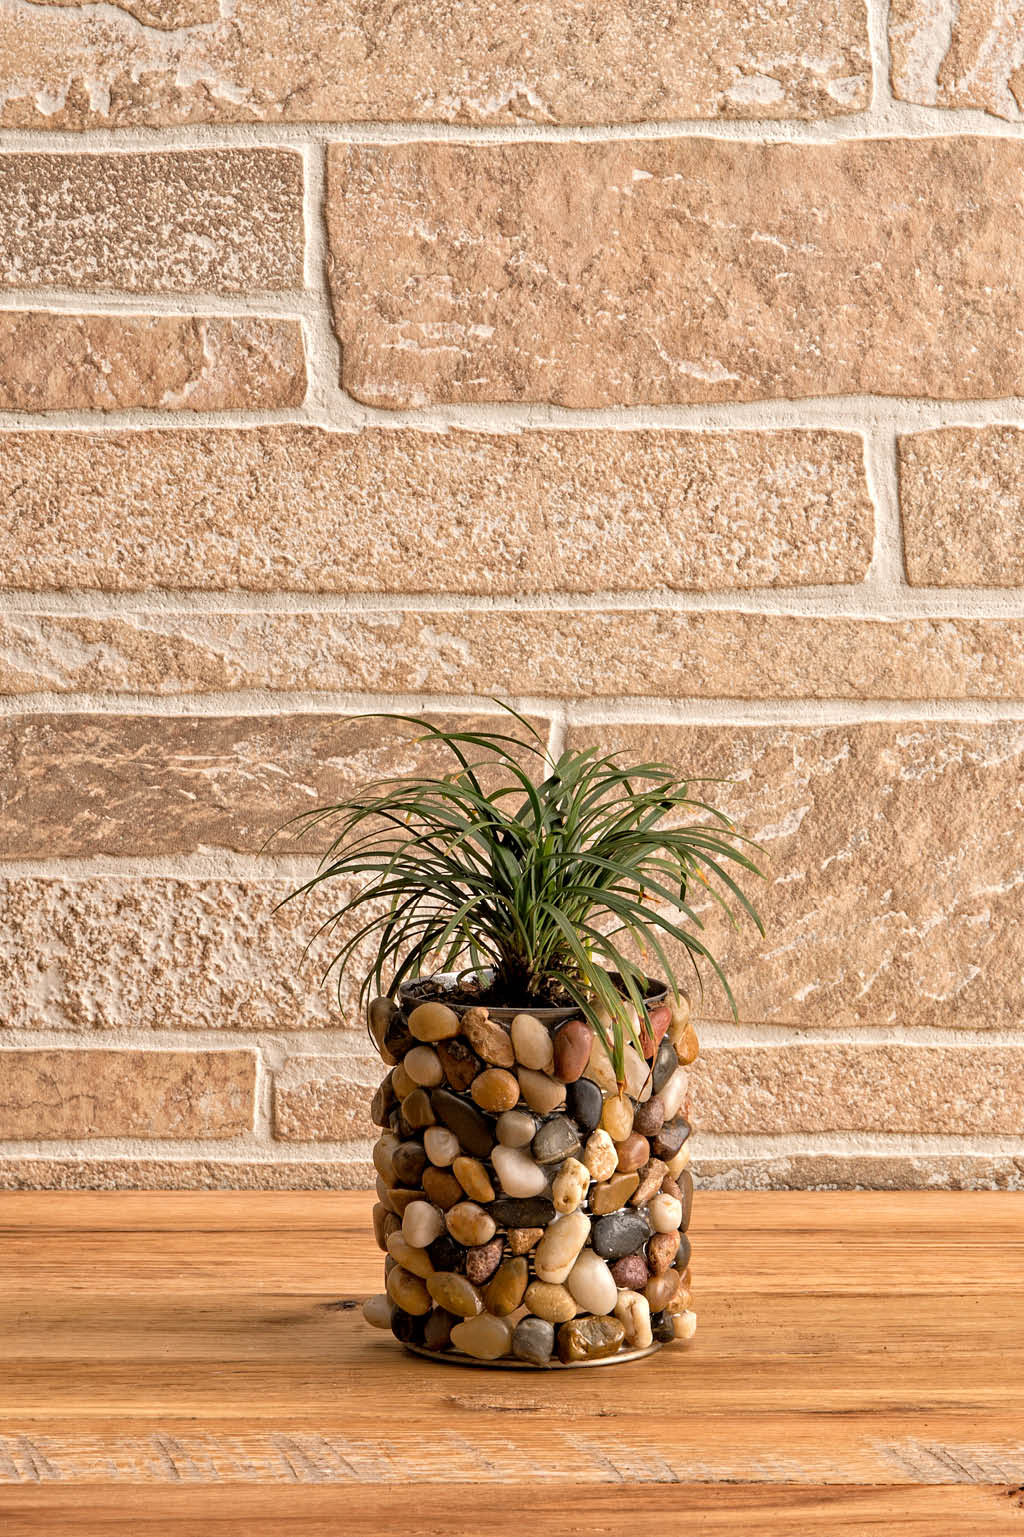
Rocks: You can go outside and find interesting rocks, or buy some at a craft store. Then glue them to the outside with hot glue or super glue (depending on the weight of the rock). This particular planter will blend in especially well outside.
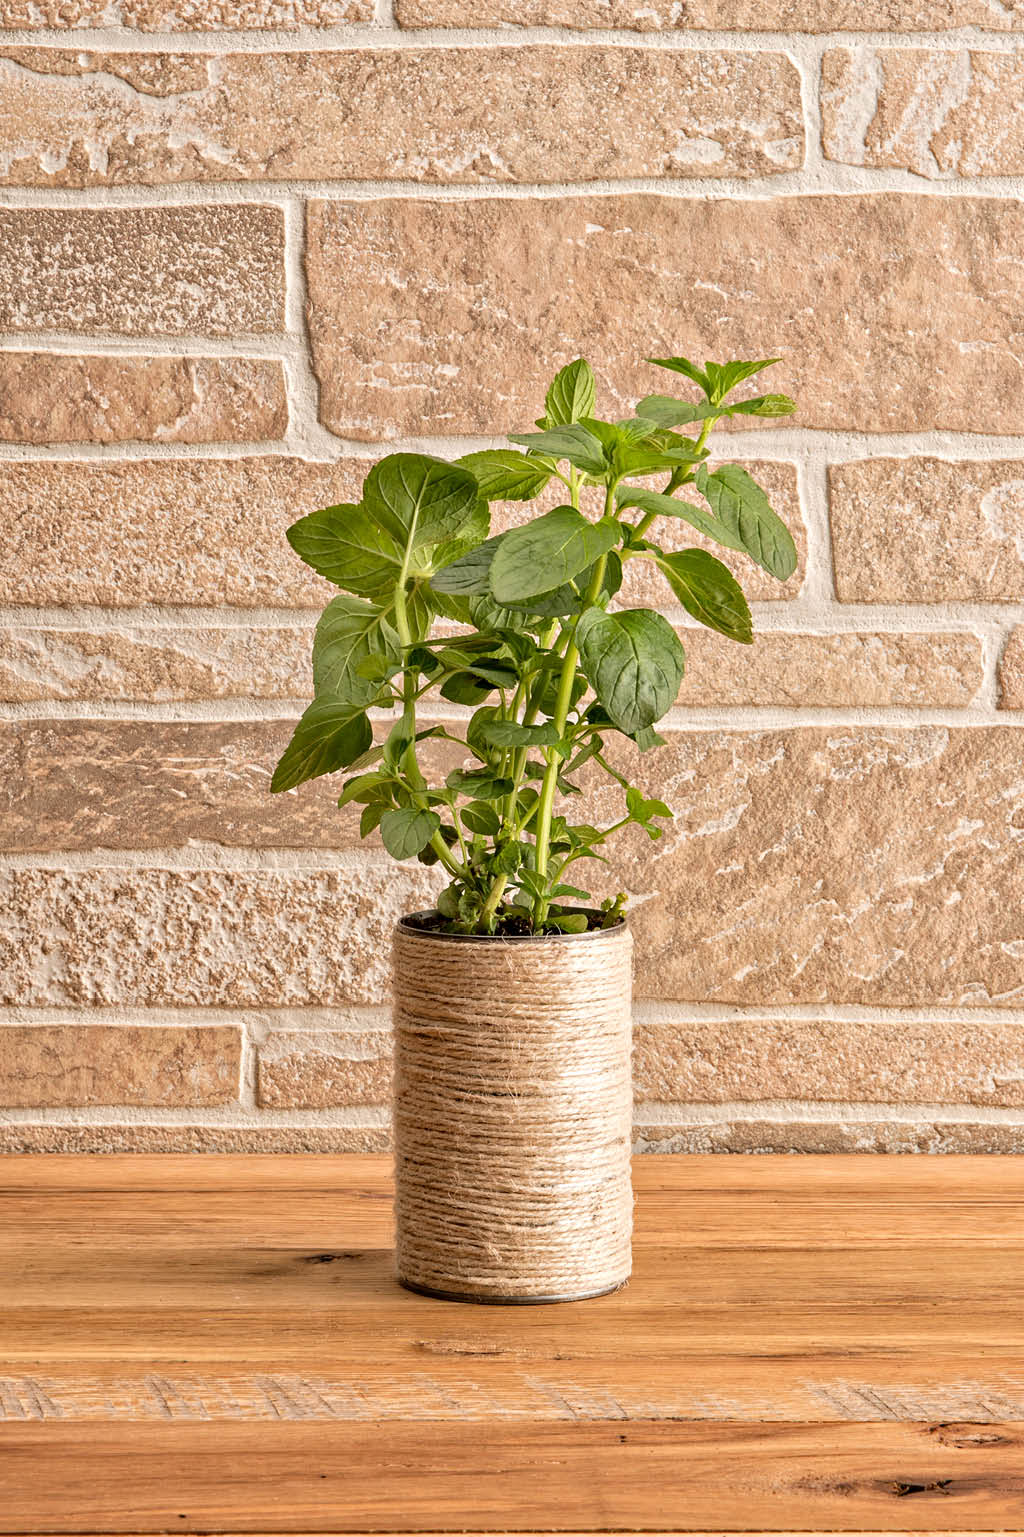
Twine: Wrap the whole can with twine, ribbon or yarn, securing it with glue.
Prep the cans.
Once you’re finished decorating, carefully poke a few holes in the bottom of the can using a hammer and a nail, and place a handful of pebbles or glass stones in the bottom of the can to help with drainage.

