Common Home Repairs You Can Do Yourself
Nothing feels better than accomplishing a home repair with your own two hands. And in this age of YouTube tutorials, it’s easier than ever. There are, of course, repairs that should always be left to the professionals, but don’t be afraid to tackle some of the smaller-scale home repairs yourself. Your wallet will thank you! Here are five common repairs any homeowner can tackle, regardless of their experience.
Fix a leaky faucet
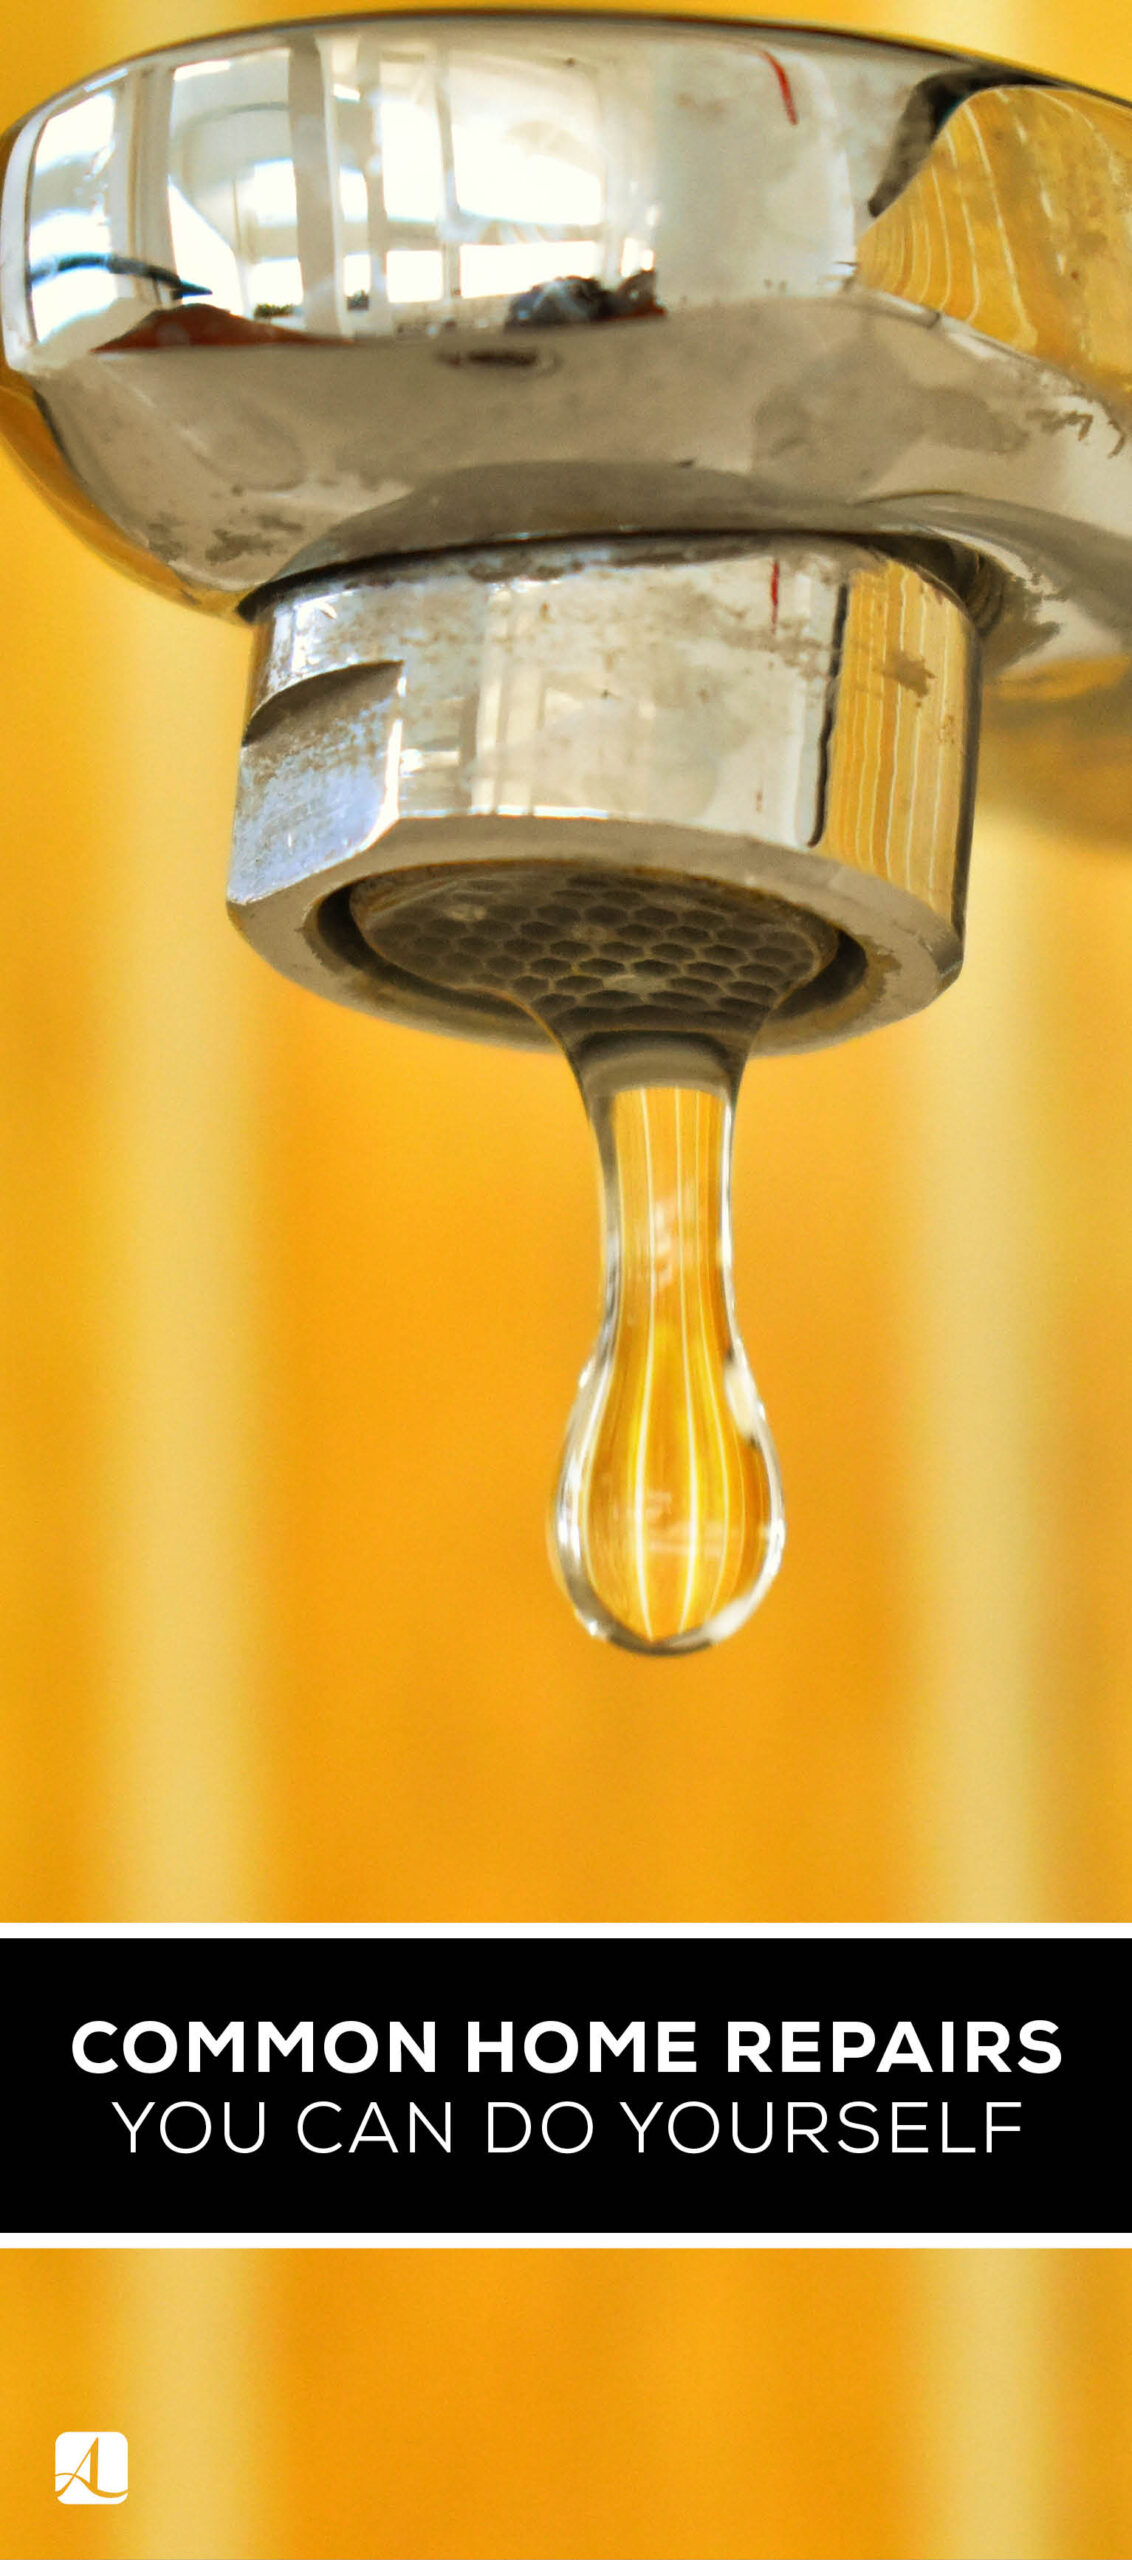
There are five main causes of leaky faucets: a damaged cartridge (this is for faucets that have both a hot water and cold water handle), broken washers, high water pressure, a faulty O-ring, or a corroded valve seat. Turning off the water is the most important first step in the quest to fix any of these. Usually the water valve is located below the sink. If you don’t have any there, you’ll need to shut off the main water supply for the house.
Once you establish that no water is coming out, disassemble your handles and detach the valve stem. Now you can see all of the parts of your sink, which will allow you to identify if any have deteriorated. Bring the faulty parts with you to the hardware store to make it easy to find duplicates. Before reassembling your faucet, take a minute to soak and scrub the valve seat with vinegar so you have a clean surface. When everything’s back in place, turn the water back on; you’ll know you’ve been successful if the leak has stopped.
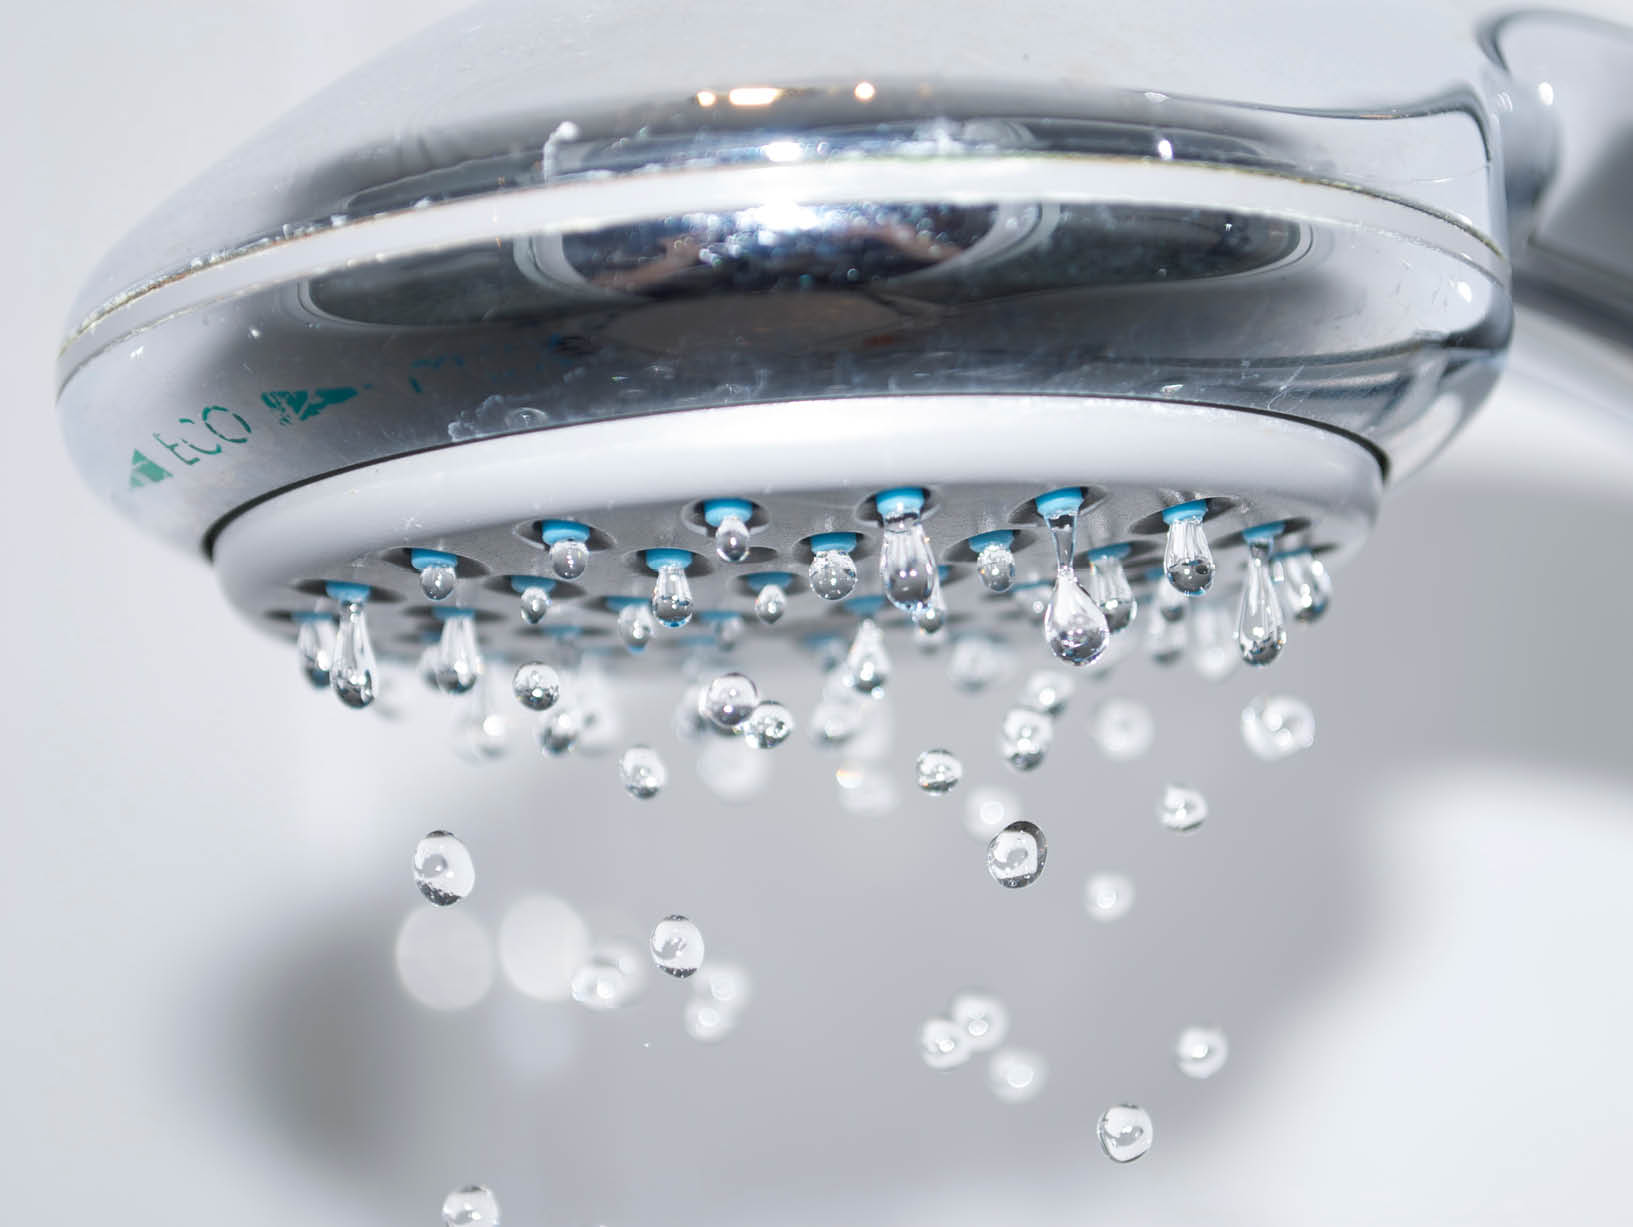
Replace the showerhead
Whether your showerhead is on its last legs or you’ve been wanting to upgrade to a fancy rain version, replacing it can transform your shower experience and make those early morning wake-ups more palatable. And as most showerhead connections are now universal, installation should be fairly quick and easy.
Before you unscrew anything, scan for any rust or mineral deposits where the shower arm and shower head meet, then clean it. You might need to use something that has a grip to it, or even pliers, if it’s stubborn.
Once you remove the showerhead, clean the threads and take off any tape. If the instructions for the new fixture call for it, wrap plumber’s tape clockwise around the threads of the shower arm, taking care not to wrap too far down so you don’t have any visible tape peeking out. Then it’s time to screw on the new showerhead and admire your handiwork.
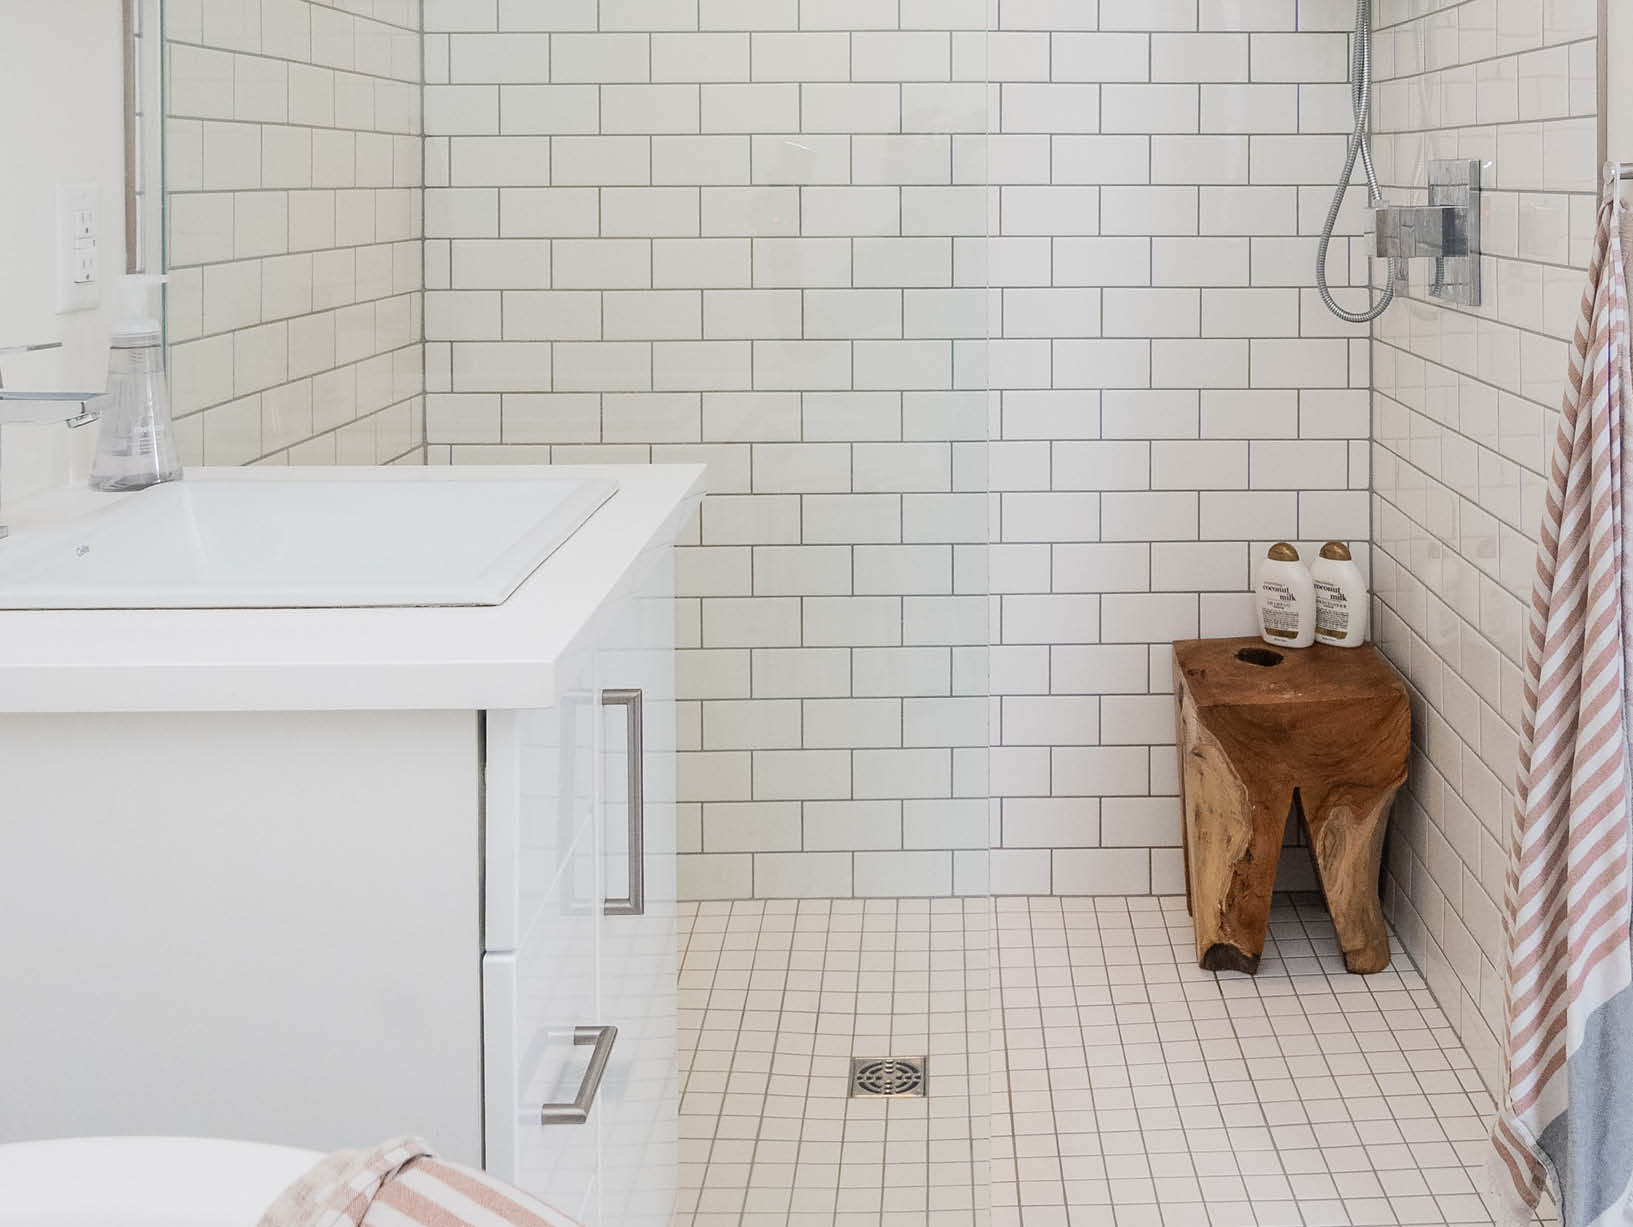
Unclog the shower drain
If you have long hair or live with someone who does, you’ve likely experienced that phenomenon where your shower turns into an ankle-deep bath. Clog alert! You have a few options to attack the problem. Pouring boiling water down the drain is a simple first course of action if you have metal pipes. You don’t even need to remove the drain cover. Use a little at a time until the clog clears.
If this fails, it’s time to get in there. Some drain covers require a screwdriver, and others need to be fussed with until they click into a groove and can be unscrewed by hand. Sometimes you can reach into the drain with a pair of needle-nose pliers and pull out the clump of hair. For clogs out of reach, straighten a wire clothes hanger and bend it into a small hook at one end. Lower it into the drain until you hit debris, then pull up.
If neither of these options did the trick, it means the clog is further down the pipe and you’ll need to pour something besides hot water in there. Before you try something highly caustic like Drano, mix ⅓ cup of baking soda with ⅓ cup of vinegar in a heat-resistant cup and pour it into your drain. You’ll hear a lot of bubbling, which will help loosen the clog. After ten to twenty minutes, pour a pot of boiling water down to remove the mixture from your pipes so it doesn’t corrode the metal.
The final solution is to snake your drain, which can be done with a manual or electric auger. Guide it down the drain, turning the handle clockwise as it picks up clogs. Once you are confident you’ve hooked your clog, turn the handle counterclockwise to remove the snake from the drain. To prevent further emotional trauma from touching gooey clusters of hair, invest in a hair catcher to fit over your shower drain.
Fix a garbage disposal jam
A dreaded whirring noise without the whirring motion signals that something has caused your garbage disposal to jam. Switch off your disposal to avoid any further damage, then turn off the power in your main electrical panel. Grab the Allen wrench (the kind used with IKEA furniture) that came with your disposal, and insert it into the hexagon-shaped hole underneath the lower grinding chamber. Turning it clockwise should loosen the jam, and you should feel the flywheel begin to rotate—easy peasy! All that’s left is to restore electricity, press the reset button on your disposal, and let some cold water run for a few minutes.
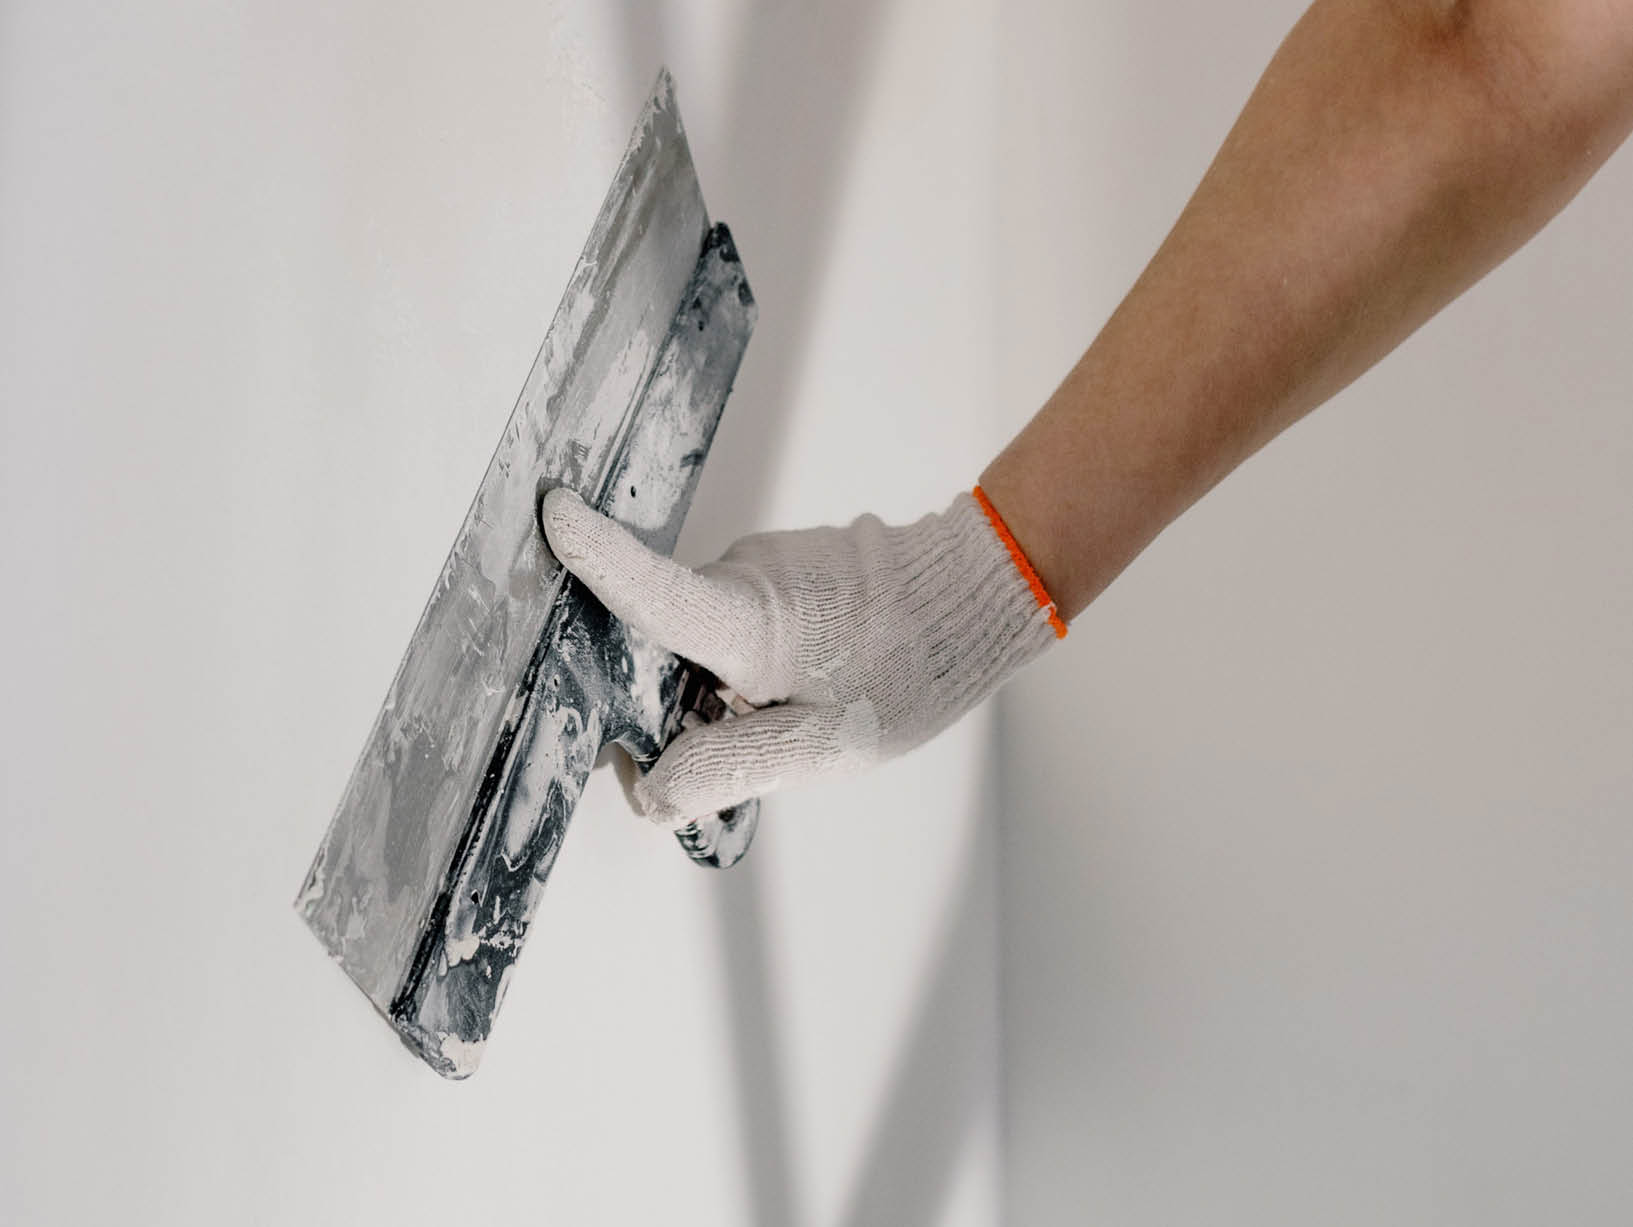
Patch nail holes in the drywall
Unless you are an extreme minimalist, you’re going to have small nail holes left in your walls from artwork, photo frames, and other decor. If you are moving or repainting, you’ll need walls that don’t resemble a pin-the-tail-on-the-donkey printout that’s been thumbtacked to death. For this mission, you’ll need spackling paste, a 220-grit sanding block, and a 2-inch putty knife. To prep your surface, move the sanding block in a circular motion over the hole to smooth away any ridges caused by the original hammering.
Next, spread a dime-sized blob of spackling paste evenly over the nail hole with the putty knife. Swipe once sideways or downward, then take a second pass in the opposite direction. When the paste has dried, use your sanding block again to even the surface. One more thin layer of spackle is recommended to compensate for any shrinkage. Allow it to dry, and lightly sand a final time to make sure the patched hole is flush with the rest of the wall.
The more repairs you tackle yourself, the braver and more competent you will feel about taking on bigger projects. The better you care for your home, the more you can keep costs low and even boost your resale value when and if that time comes.


