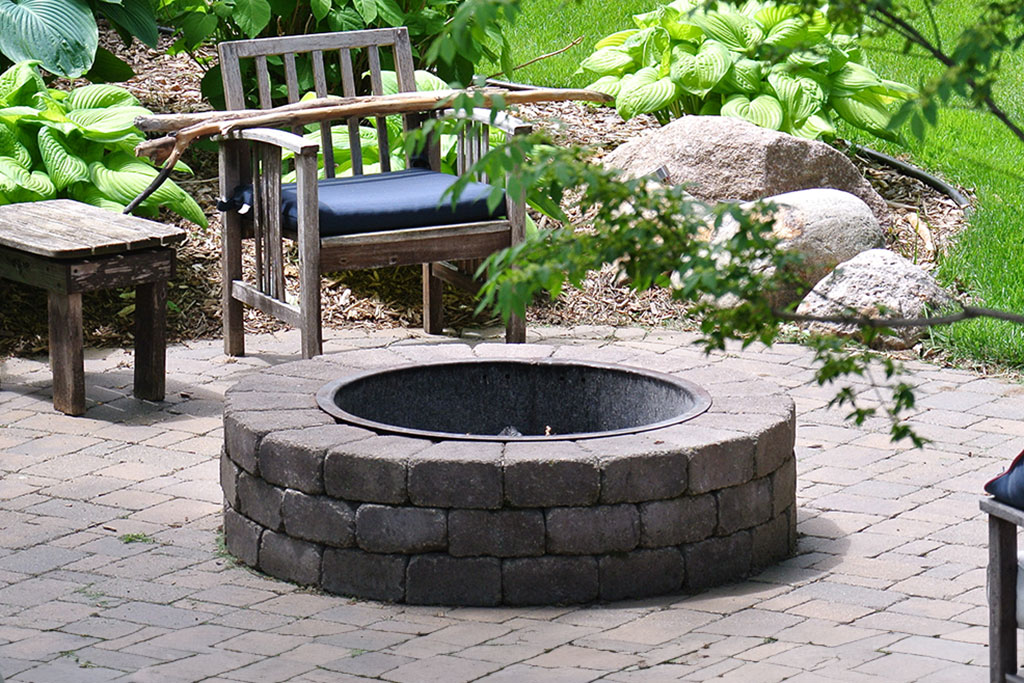
How to Build a Stone Firepit
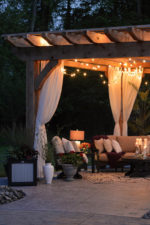
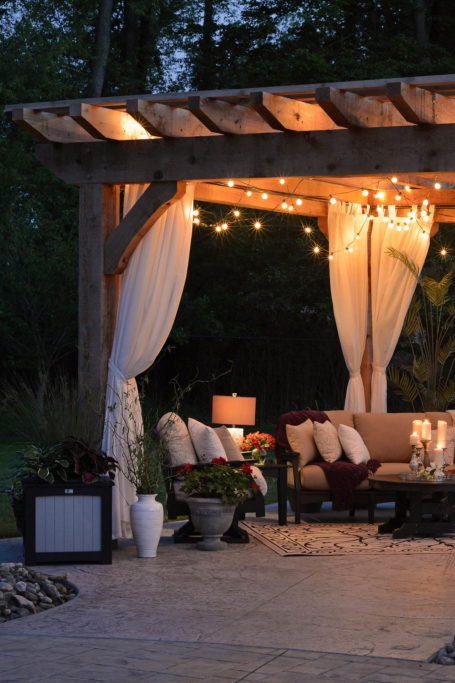
Cool fall nights, crackling flames, and the scent of roasting marshmallows—there may be no better way to get cozy this season than with a backyard firepit.
And though you can certainly buy a basic metal option online or in a store, few can beat the timelessness and sturdiness of the classic round stone version. The best part? With just a little planning, a small budget, and a few hours of work, you can design and build one yourself to enjoy for years to come.
Key considerations
While you may be eager to get going, it’s essential to do some due diligence first. Start by checking local building codes as well as your homeowners association regulations (as applicable) to verify that firepits are allowed and review the rules regarding size, location, material, and fuel type. At a minimum, yours should be ten feet away from any structure and sit on level ground in an area that’s clear of overhanging branches, reducing the risk of wayward sparks igniting the surrounding vegetation.
Materials
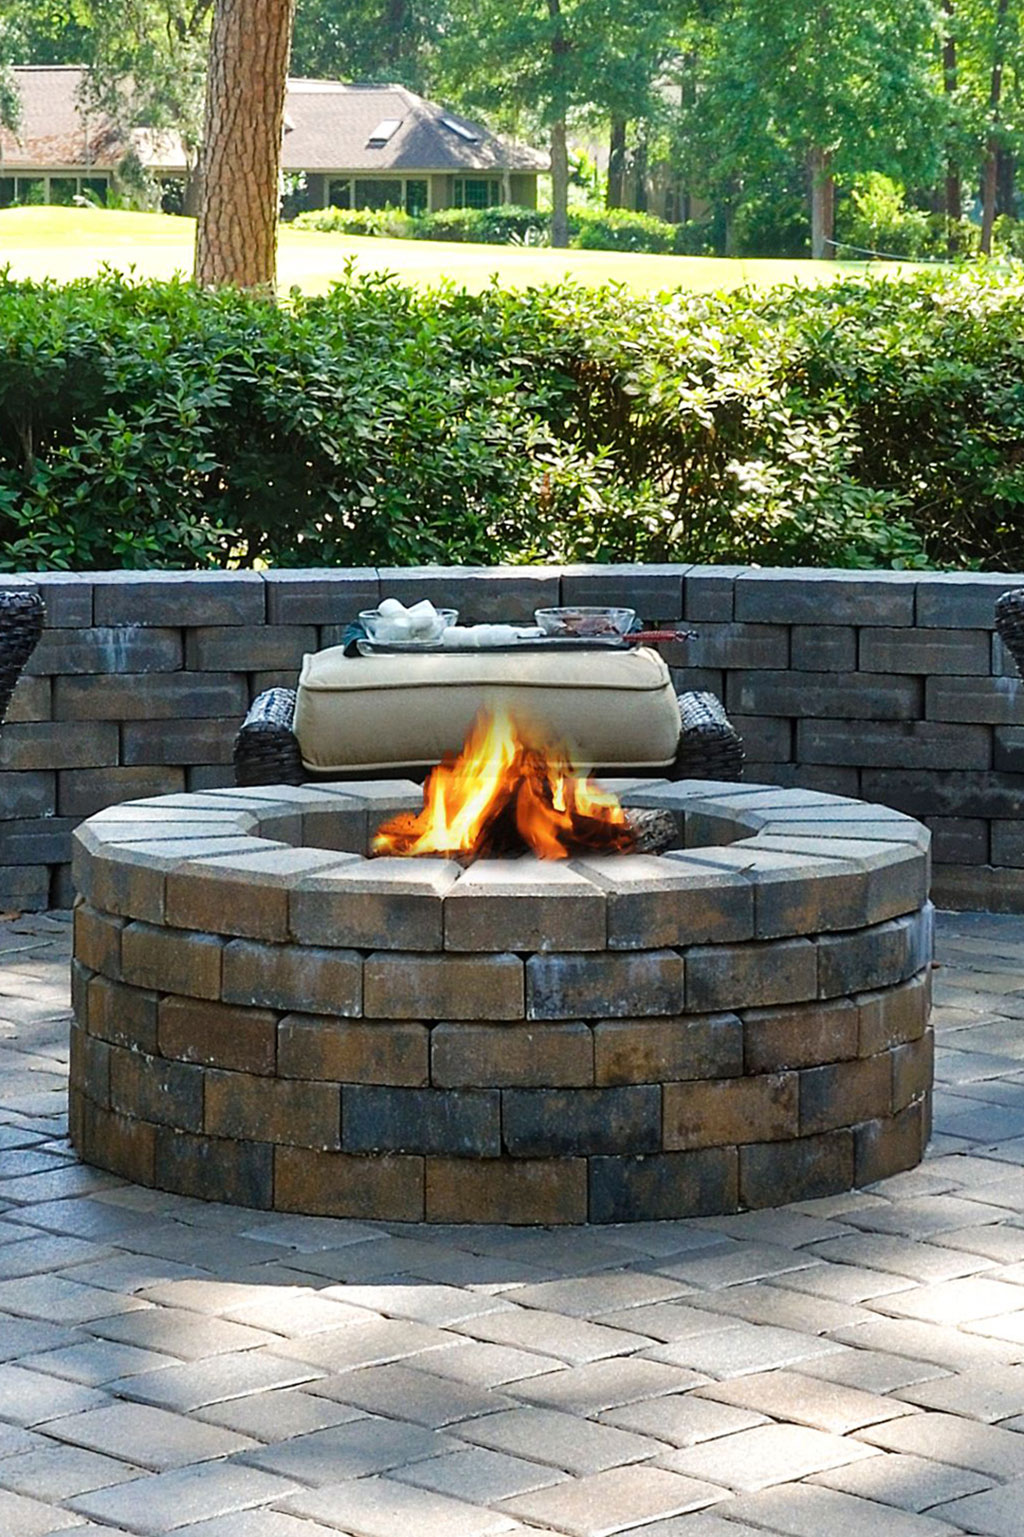
There are numerous ways to build a firepit, many of which can get complicated, but constructing a basic stone one is relatively simple. You only really need to worry about two components: the walls and the base. For the former, your best bet may be retaining-wall blocks—they’re sturdy, heat resistant, and fairly inexpensive. You don’t even necessarily need an adhesive to keep them together (though it may be a good idea If you plan to prop your feet on the sides).
As for the latter, you can use flat concrete pavers, acquiring a mix of squares for the middle and triangles to fit along the circular perimeter; if building it on your lawn, this can allow you to avoid having to dig up your grass. Add in some paver sand to fill in the gaps, and you’ll have a solid base where you can safely place your firewood.
Beyond those fundamentals, consider a steel fire ring for added durability and protection against heat damage, and don’t forget about your tools! Here’s a full list of supplies to collect:
- Marking paint or tape
- Retaining-wall blocks
- Level
- Fire-resistant adhesive (optional)
- Concrete pavers
- Rubber mallet
- Hammer
- Paver sand
- Steel fire ring (optional)

Steps
- Determine the size, and buy supplies
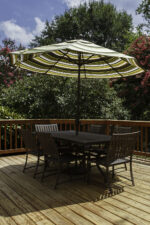
To get started, decide how wide and tall you want your firepit to be—these two factors will help you gauge the amount you may need in materials. In general, the recommended diameter is anywhere between thirty-six and forty-four inches, including the width of the retaining-wall blocks. In your chosen area, roughly map out your firepit to verify that there’s enough room on all sides for chairs, tables, and anything else you plan on using while enjoying your new addition. Regarding the height, the typical number ranges from twelve to twenty inches depending on your preferences. Once you have your measurements, head to the store to buy supplies. - Stack retaining-wall blocks
Carefully measure and mark your chosen area, using the marking paint or tape to ensure an even circular shape. Lay the first row of retaining-wall blocks along this line, leaving small gaps between a few to help with airflow. Use the level to ensure that it is flat before moving on to the next layer so you create a secure structure; for added stability, apply the fire-resistant adhesive to attach each block together. Continue stacking rows until you reach your desired height. - Install the base layer and steel ring
After the wall is in place, arrange the concrete pavers on the bottom of the circle to create the base. The rubber mallet can help tap them snugly into place; if needed, use a hammer to chip off small pieces of the triangles to make them fit. When the bottom of the firepit is fully covered, spread a layer of paver sand on top to fill in any gaps. Lastly, place the steel fire ring inside if desired. - Test your firepit
Double-check that the structure is stable and level by gently attempting to move the blocks. If everything looks and feels firm, place a few small logs or kindling inside and light a test fire to confirm there are no issues and that it suits your vision. Adjust as necessary until you’re satisfied. Then congratulations—your firepit is ready for use!

Safety tips
As you enjoy the feature, take care to follow essential fire-safety rules to protect yourself, your loved ones, and your property. For one, use dry, seasoned firewood rather than freshly cut pieces to minimize smoke and reduce the risk of sparks; avoid burning materials like paper and trash since small pieces could escape and become a hazard. Further, don’t use an accelerant like gasoline or lighter fluid, which can cause dangerous flare-ups and release toxic fumes. Instead, opt for natural fire starters like dry kindling or fire starter logs. Keeping seating and other furnishings at a safe distance will also help prevent accidental burns.
In addition, always have a way to quickly extinguish the flames, such as a bucket of water, hose, or fire extinguisher. Because fires can spread if not properly managed, never leave one unattended, even for a short period of time. Verify that it is fully extinguished before leaving the area by dousing it with water or sand and stirring the ashes to eliminate any remaining embers.

A firepit is guaranteed to add warmth, ambience, and functionality to your outdoor space, no matter how you use it. So gather your supplies, dedicate a few hours for construction, and get ready to make lasting memories around the comforting glow of the flames.
3938 Views
Related Posts


Popular Posts