How to Upcycle Furniture
Finding furniture for your home can be a challenge. With so many designs, styles, shapes, and colors to choose from, it’s not always easy to locate pieces that work perfectly with your decor and personal style. If you’ve been struggling in your search, it might be time to try upcycling—the sustainable practice of transforming old or secondhand furniture into unique pieces for your home.
Why upcycle?
Jina Lee, owner of JLee Refinishings, first began upcycling furniture because of her frequent moves. “Between moving constantly due to my husband’s service in the United States Army and having young children, furniture inevitably became damaged,” she says. “The space, size, and vibe of our home also changed with each location, so I wanted to make my furniture fit.” She started by repairing and painting pieces she already owned, but she soon realized she had a knack for it and started taking commissions.
Today, Lee refinishes pieces her clients bring to her or ones she finds through Facebook Marketplace, on OfferUp, or in thrift stores. The upcycling process allows her to make outdated or worn-out furniture into one-of-a-kind pieces for both her and her clients. And it’s something you can do for your home too! Whether your canvas is a dresser that no longer fits your style or an antique desk you found at a thrift store, get creative and experiment with different paint colors, materials, and styles. To help you through the process, here are four essential steps you’ll want to follow.
Pick a design
The first part of the process is deciding what you want to do with the piece. Are you looking to do a complete overhaul or simply repair scratches and change out old hardware? Does it need a wood stain that better matches your other furniture? Do you want to paint the whole piece or just the drawers? As you ponder your options, it’s important to consider not only what will work best for the piece but also what will fit with your living space. When flipping a piece for a client, Lee starts by asking them about their home, specifically what the overall aesthetic is of the room it will go in and what other furniture they have there. This helps Lee and her clients determine how they can make the upcycled furniture cohesive with everything else.
Once you have your overall vision, Lee says you can “look at inspirations and create mock-ups of the space.” She makes digital designs to help visualize the potential transformations, but you can search on Pinterest or Instagram for inspirational pictures, perusing what other people have done with similar items to get an idea of what you want.
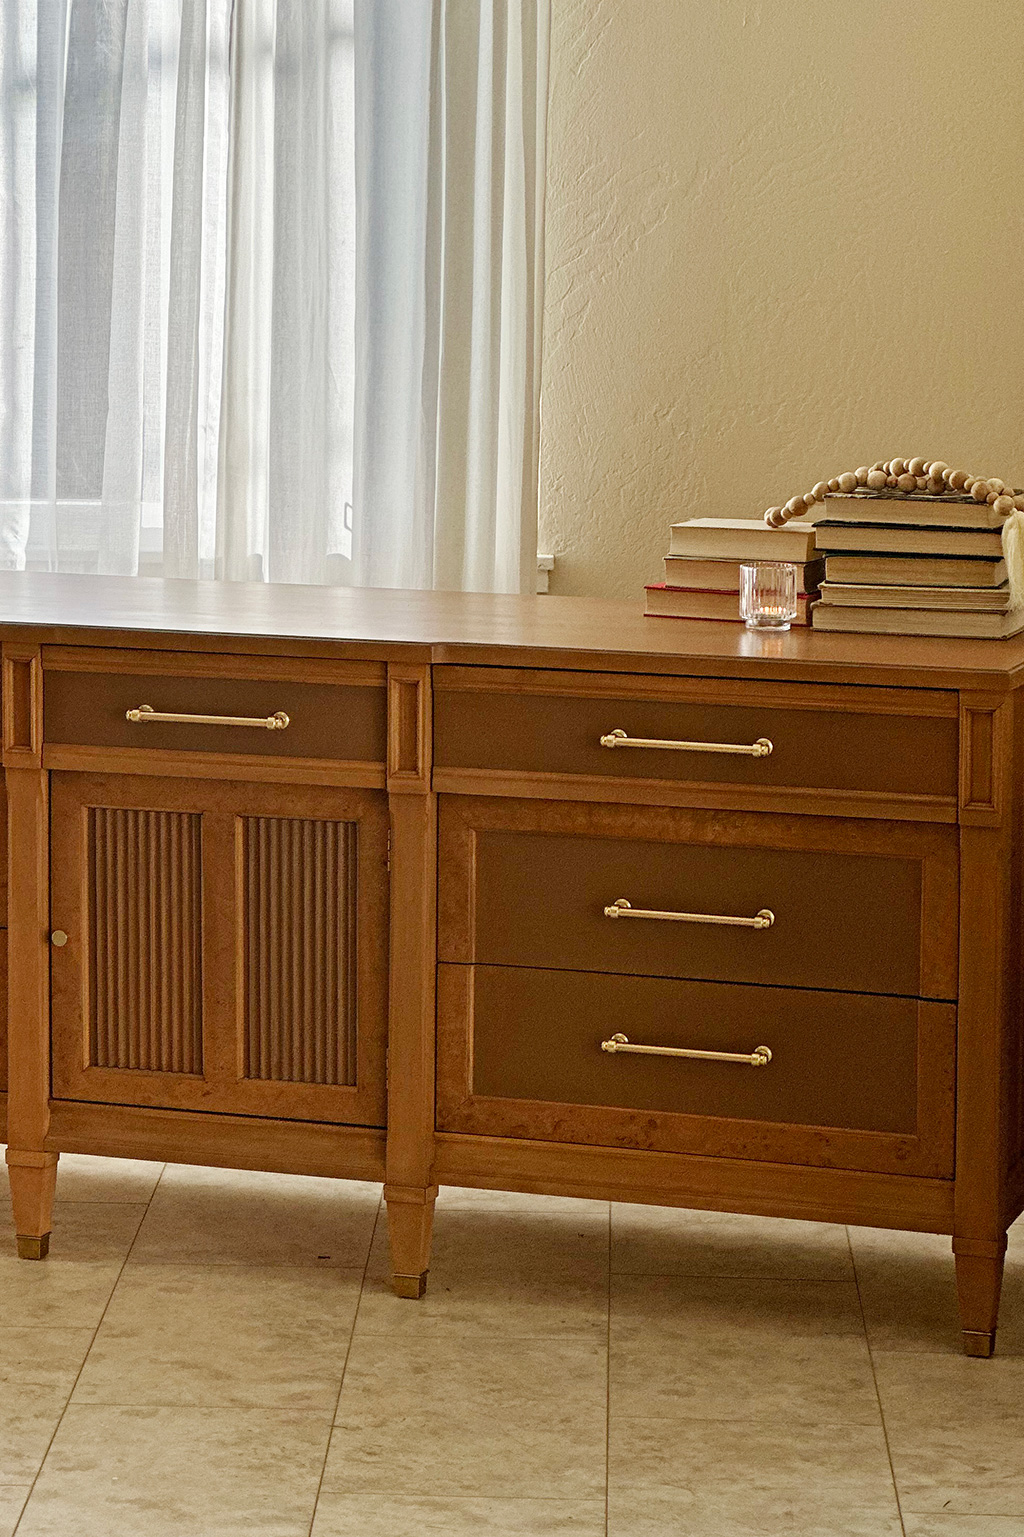
During this part of the process, Lee will also decide which techniques and methods she wants to use on the piece. This could involve adding rattan to a door front, removing detailed framing, or using a new painting or staining method. There are a lot of ways to experiment with techniques that can achieve a fresh, exciting look. After all, you have the freedom to update the item as much as you want, changing it in whatever way makes it shine in your home.
Get supplies and make repairs
Many used or antique pieces will need repairs before you can upcycle them. While some will simply need a little wood filler to fix a crack, others may require more extensive restorations. “You can’t always find a replacement for a missing or broken item,” Lee shares. “Sometimes they were made using old standard dimensions, so fixing the issue may require ingenuity or a custom creation.” She adds that it’s a challenging process since “making a repair not look like a repair but rather a restoration takes significant commitment.” But it can also be incredibly rewarding in the end, as only you will know everything you had to do to get the piece in tip-top shape.
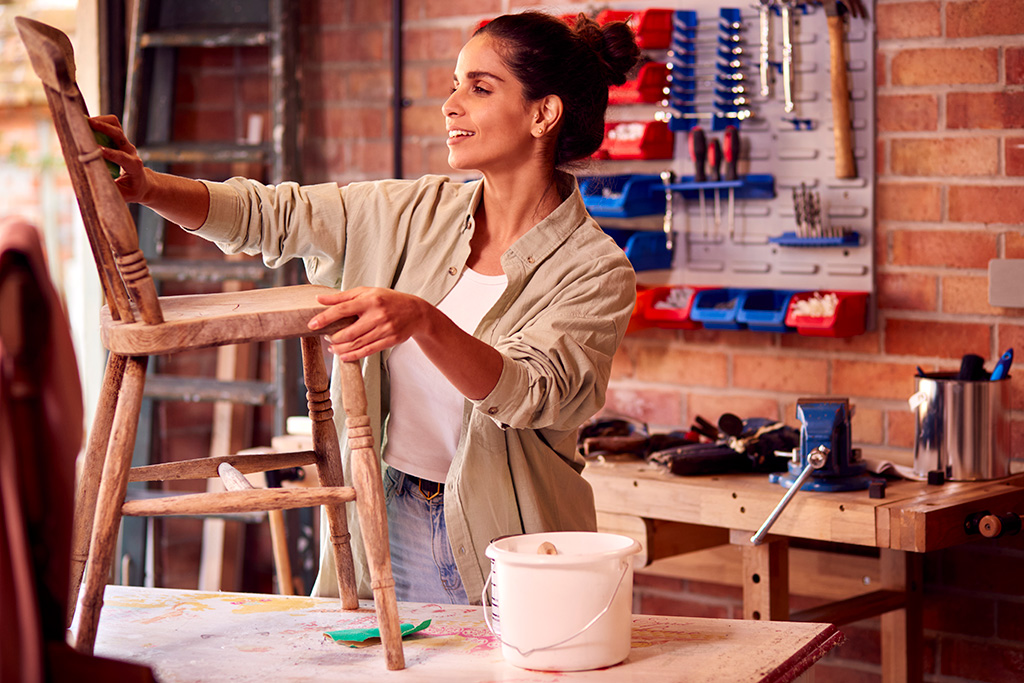
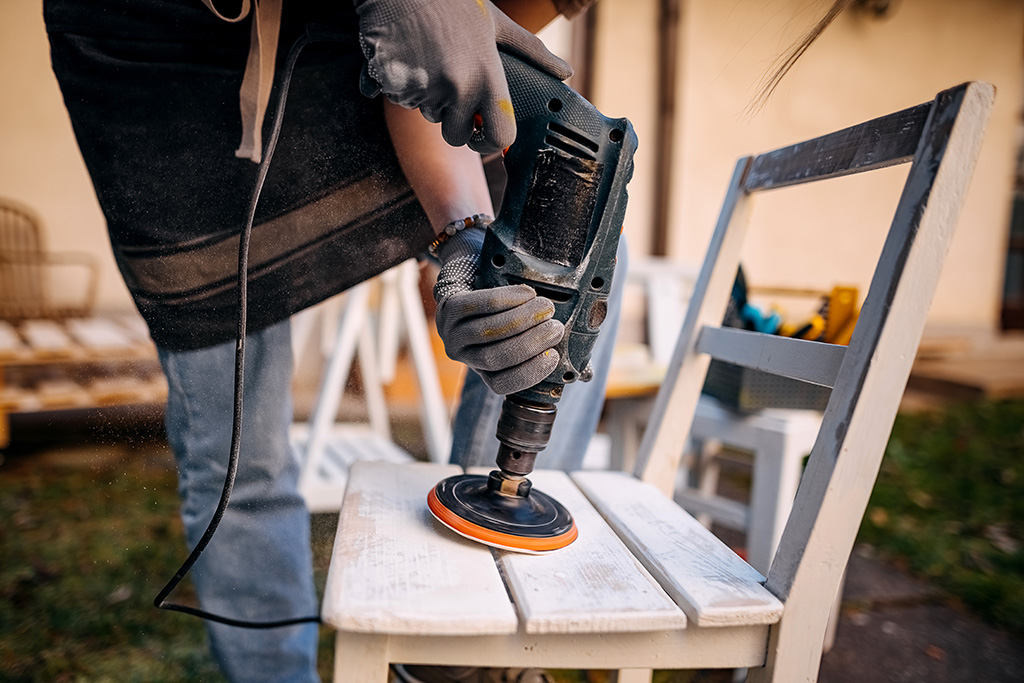
The required items for the flip will ultimately depend on what you’re doing to the piece. For example, you may need primer, paint, stain, brushes, or hardware for the upcycle. However, there’s one must-have item for most projects—sandpaper. “Almost every part of the process of refinishing a piece, from removing finishes to smoothing paint to repairing parts, will require sanding,” Lee says. But don’t fret if you don’t happen to own a power sander. Lee notes that you can ultimately accomplish the same thing with a basic hand sander; it just may take a little more time and elbow grease. Sanding will give you a smooth surface to work with, making it easier to paint, restain, or add detail to the piece.
Implement your design
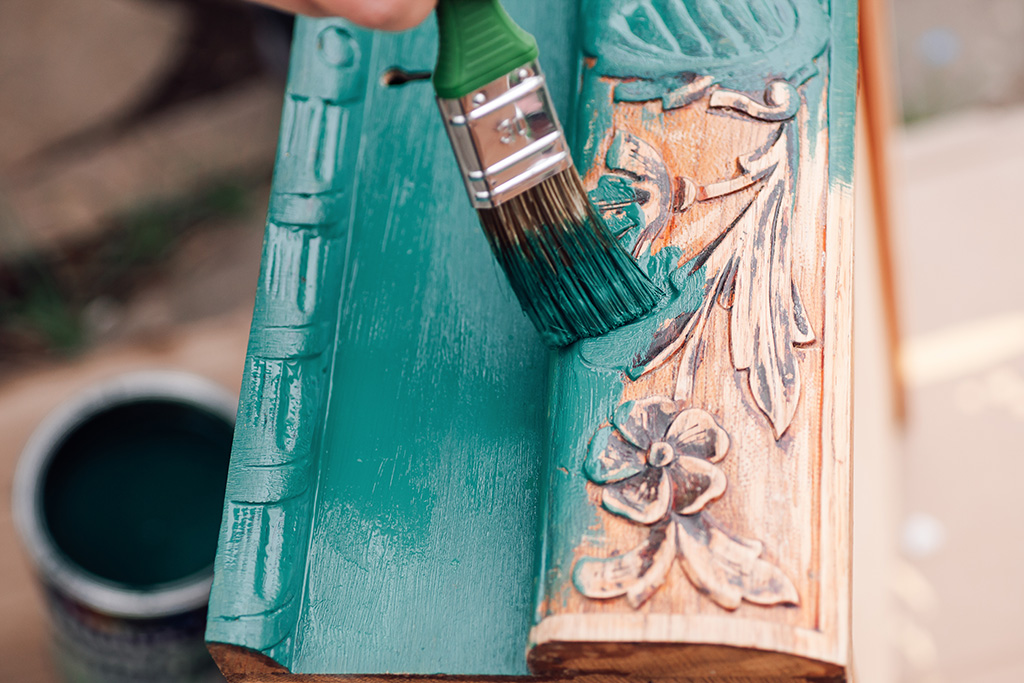
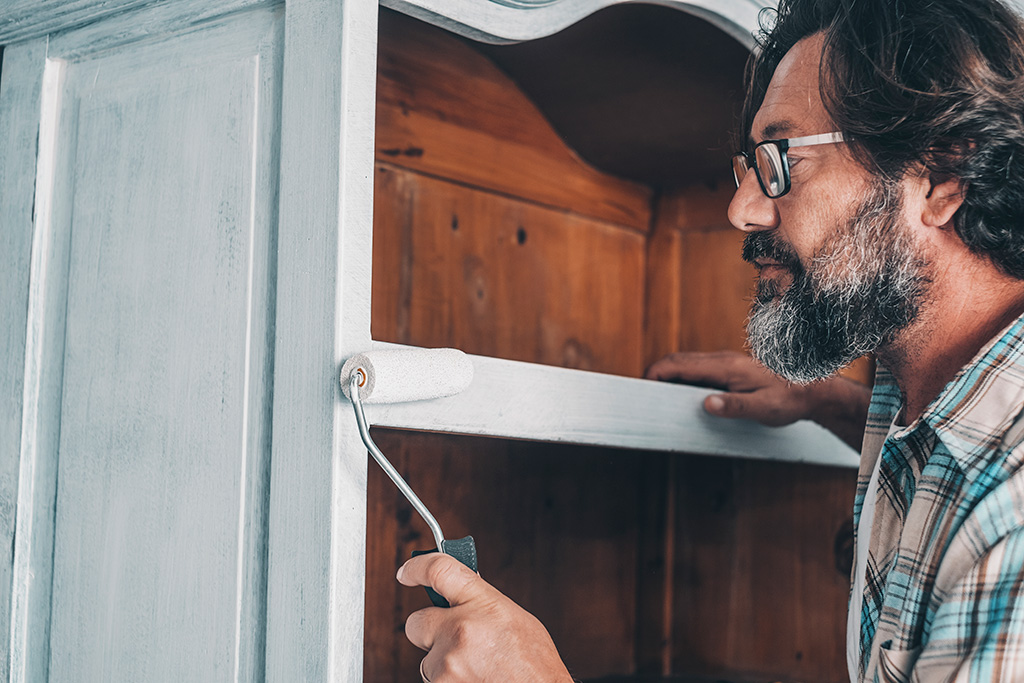
After you’ve gathered your supplies, sanded the item, and made necessary repairs, you’ll want to clean the entire surface to make sure it’s dust-free. Then you can get to work refinishing it according to your chosen design. If you’re painting any portion of the furniture, you should prime the surface first to better ensure that the paint adheres to the item. A pro tip is to lightly sand between layers of primer and paint to get rid of thicker brushstrokes and smooth the surface.
You may encounter unexpected issues during this process, such as paint looking streaky after it has dried or stain not adhering to the item. If this happens, Lee suggests reaching out to someone who has experience transforming furniture. “The furniture-flipping community as a whole is sharing and encouraging,” she says. “Don’t be scared to ask for help.” Consider joining a furniture-flipping or upcycling Facebook or Reddit group, where you can share your issue and ask for suggestions on what to do next.
Protect your work
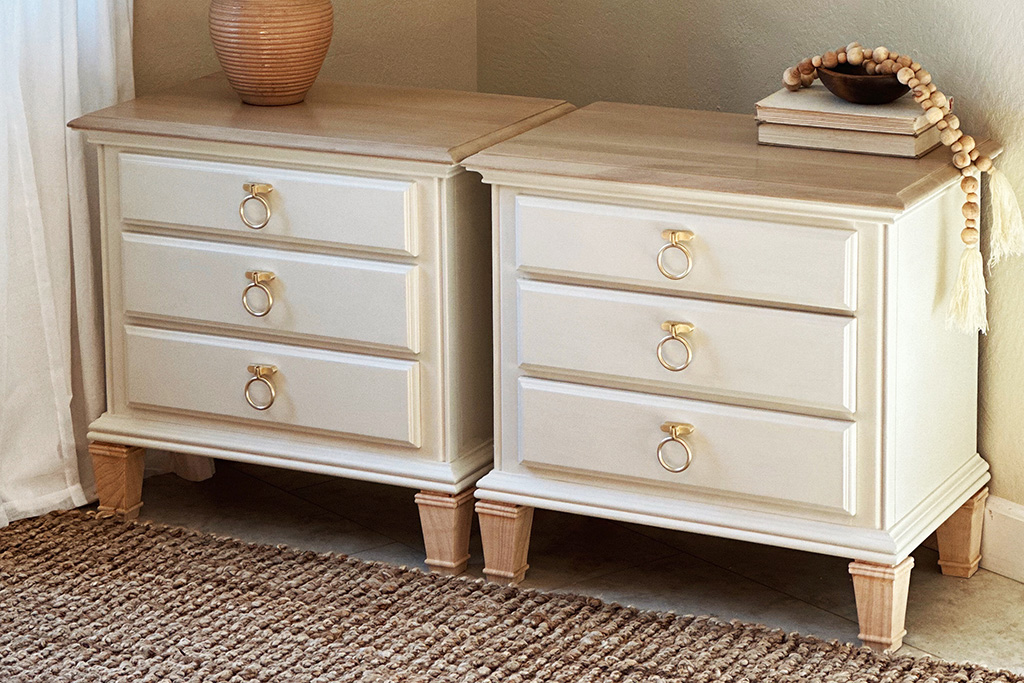
To complete the project, you’ll want to seal the piece with a top coat, such as a finishing wax, polyurethane, or polycrylic. Applied correctly, the top coat will create a hard surface that will prevent water stains, scratches, and other wear and tear from everyday use. In the end, you’ll have a beautiful, unique piece to keep in your home for years to come.
For more info, follow Jina on Instagram @jlee.refinishings


